Front Desk Procedures for Visitors: A Simple Check-In Process Your Team Can Run Without a Receptionist
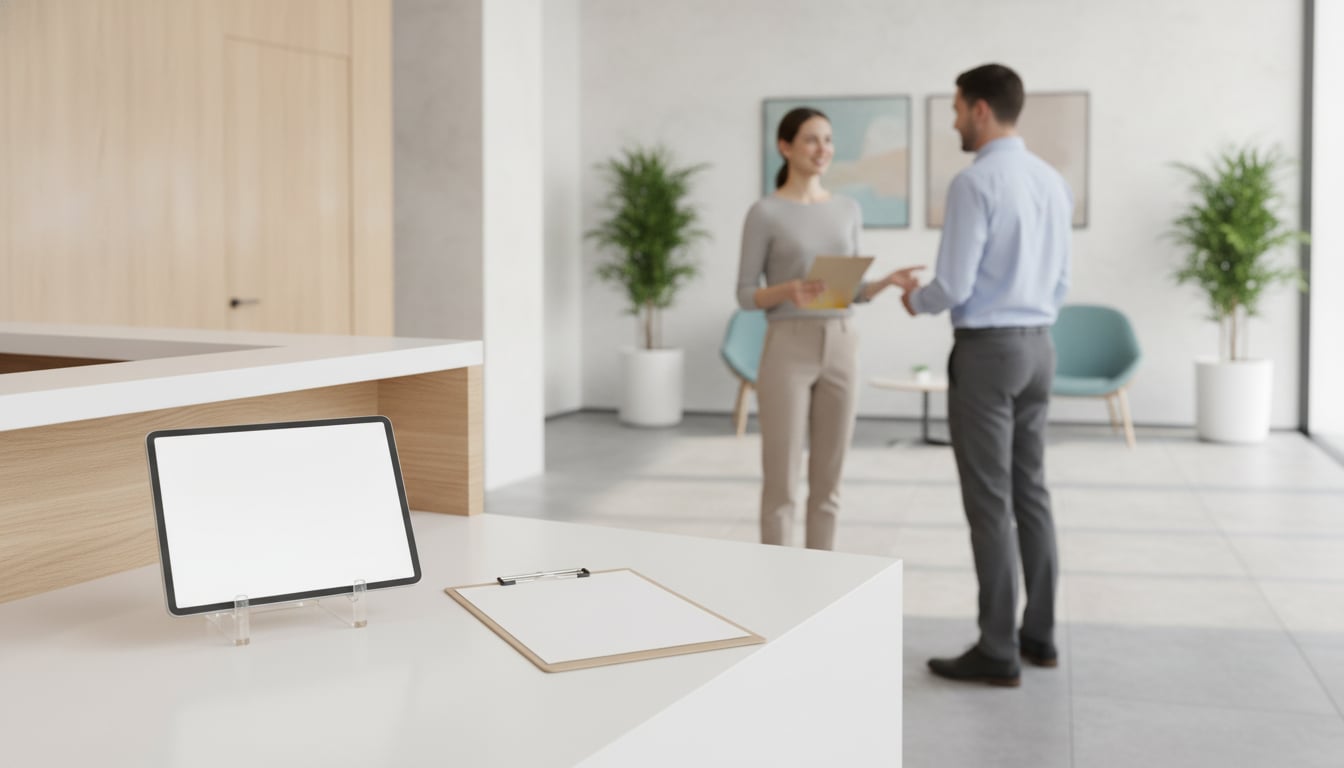
If your office doesn't have a receptionist, your front desk procedures for visitors probably come down to one unwritten rule: "someone will get it." In practice, that means nobody does.
Everyone assumes a teammate closer to the door will handle it. The visitor stands in the lobby, checks their phone, and wonders if they came to the right place. A client meeting starts late, and a job candidate forms an opinion about your company before the interview even begins.
You don't need to hire anyone to fix this. You need a one-page procedure that says who handles each visitor, how fast, and what happens when that person isn't available. This guide walks you through writing one, and there's a free template at the end.
Why Small Teams Need Written Front Desk Procedures
In a big office, the front desk is someone's job. In a team of 10 or 30, it's everyone's side job, and side jobs slip.
A written procedure removes the guesswork. When a visitor shows up, nobody has to decide whether it's their turn or wonder who invited this person. The answer is already on paper.
It also helps in a few situations you'll run into sooner or later:
- New hires learn how visitors are handled on day one, instead of picking it up by accident.
- Busy days, when half the team is in meetings, still have a clear owner for the door.
- Unusual visits, like a contractor arriving early or a courier needing a signature, have a default answer.
Bottom line: If it isn't written down, it depends on whoever happens to be nearby. Write it down once and everyone follows the same process.
The Visitor Check-In Process, Step by Step
Before you write rules, map what actually happens. A good visitor check-in process has five stages, and each one needs a clear owner.
Before the visit: share who's expected
Whoever books the visit tells the team. A short message in a shared channel works: "Interview with Sam at 2 p.m., I'm the host." That way, anyone who sees a stranger in the lobby knows who they're waiting for.
Arrival and check-in
The visitor needs to know where to go the moment they walk in. Place a check-in tablet or a clear sign right by the entrance, and make the options obvious: meeting, interview, delivery.
Notify the host
The check-in has to reach a specific person, not just "the office." Decide in advance who gets notified for each type of visit, and where: a chat channel, a direct message, or both.
Greet and escort
The host (or the backup) walks out, greets the visitor, and takes them to the meeting room. If the host is running late, they send someone else rather than leaving the visitor alone in the lobby.
Sign-out and records
When the visit ends, the host walks the visitor out. Decide whether you keep a visitor record, what it contains, and who can look at it. If you're unsure what to collect, our guide to visitor log privacy covers the basics.
Bottom line: Every stage needs a name next to it. If a stage has no owner, that's where visitors end up waiting.
What to Include in Your Front Desk Procedures
Your front desk procedures for visitors don't need to be long. They need to answer five questions clearly.
A primary host and a backup
For each type of visit, name one primary person and one backup. Use names or roles, not departments. "Sales team" isn't a person, but "Jordan, then Priya" is. The backup steps in whenever the primary doesn't respond.
A response-time target
Pick a number everyone can remember, for example: "Someone acknowledges within 2 minutes and is at the door within 5." The exact numbers matter less than having them. A target turns "I'll get to it" into a clear commitment.
Routing by visit type
Different visitors need different people. A simple routing list might look like this:
- Interviews: the hiring manager, with the office manager as backup.
- Deliveries: the office manager or whoever is on door duty that day.
- Contractors: the person who booked the work, such as facilities or IT.
- Client meetings: the account owner, with a teammate from the same team as backup.
Welcome messages visitors actually read
Visitors look for one thing after checking in: confirmation that someone knows they're here. Keep it short and specific. A few sample lines:
- "Thanks for checking in! Your host has been notified and will be with you in a few minutes. Please take a seat."
- "Delivery? Please leave packages on the shelf to the left. If you need a signature, someone will be right out."
- "Welcome! Here for an interview? Grab a seat and help yourself to water. Your interviewer is on the way."
Walk-ins and after-hours visitors
Not every visitor is expected. Decide who handles walk-ins with no appointment, and what happens outside business hours. For example: "Walk-ins go to the office manager. After 6 p.m., the door stays locked and a sign lists a contact email."
Bottom line: Hosts, a time target, routing, a welcome line and a plan for the unexpected. That's the whole document.
Rules That Keep Visitors From Waiting
Even a well-written procedure can fail on a busy afternoon. These three rules close the most common gaps.
- Route alerts to the right channel, not @everyone. When the whole office gets every alert, everyone assumes someone else will go. Send each visit type to the people who own it. We cover this in more detail in our kiosk troubleshooting guide, and planning the routing itself is covered in how to notify the right host at check-in.
- Reply "on my way" before you go. A quick reply in the chat tells the backup they can stand down. Without it, either two people show up or nobody does.
- Set a coverage rule for meetings and days out. If you'll be in a long meeting or out of the office, hand off to your backup in the channel. For example: "In client calls until 3. Priya, can you cover the door?"
Bottom line: Clear routing, a visible acknowledgment and a handoff habit keep visitors from waiting with nobody coming.
Put Your Procedures on the Check-In Screen
A procedure works best when the check-in screen follows it for you. With Reception With App on an iPad or Android tablet, you can build your routing list straight into the screen:
- Turn each route into a button. Buttons can use text or images, so "Interview," "Delivery," "Contractor" and "Client Meeting" each get their own.
- Use your welcome line as the response message. You can freely set the message visitors see after they check in, so the sample lines above work as they are.
- Send each alert to the right place. Connect Slack, Microsoft Teams or Chatwork by signing in and allowing access, then pick the channel that receives the notification. Teams notifications are for paid Microsoft 365 users only.
You can also set a background image, such as your logo. Visitor data is stored on the device and isn't sent to the cloud.
Free Template: Turn It Into a One-Page Visitor Management Policy
Copy this table into a shared doc, replace the examples with your own details, and you have a basic visitor management policy. Pin it in your team channel and walk new hires through it during their first week.
| Item | Example |
|---|---|
| Primary host | The person who booked the visit (named in the team channel beforehand) |
| Backup | Office manager; if unavailable, the next teammate on the same team |
| Response-time target | Acknowledge within 2 minutes, at the door within 5 |
| Routing per visit type | Interviews → hiring manager / Deliveries → office manager / Contractors → whoever booked the work / Client meetings → account owner |
| Welcome message | "Thanks for checking in! Your host has been notified and will be with you in a few minutes." |
| After-hours rule | After 6 p.m. the door stays locked; a sign at the entrance lists a contact email |
Review the policy whenever someone joins or leaves the team. That's when a visitor management policy quietly goes out of date.
The Bottom Line
You don't need a receptionist to give visitors a good first impression. You need clear front desk procedures for visitors: a host and a backup for every visit type, a response-time target, a short welcome message and a plan for walk-ins. Write it on one page, share it with the team, and test it the next time someone walks through the door.
Want the check-in screen to follow your procedure? Reception With App has a 30-day free trial with no signup, and plans start at $9.69/mo in the U.S. after that.
Try It Free for 30 Days, No Signup
Install on an iPad or Android tablet, turn each visit type into a button, and notify the right person in Slack, Chatwork, or Microsoft Teams. From $9.69/mo in the U.S. after the trial.