Smarter Visitor Check-In — No Sign-Up, No Setup Needed
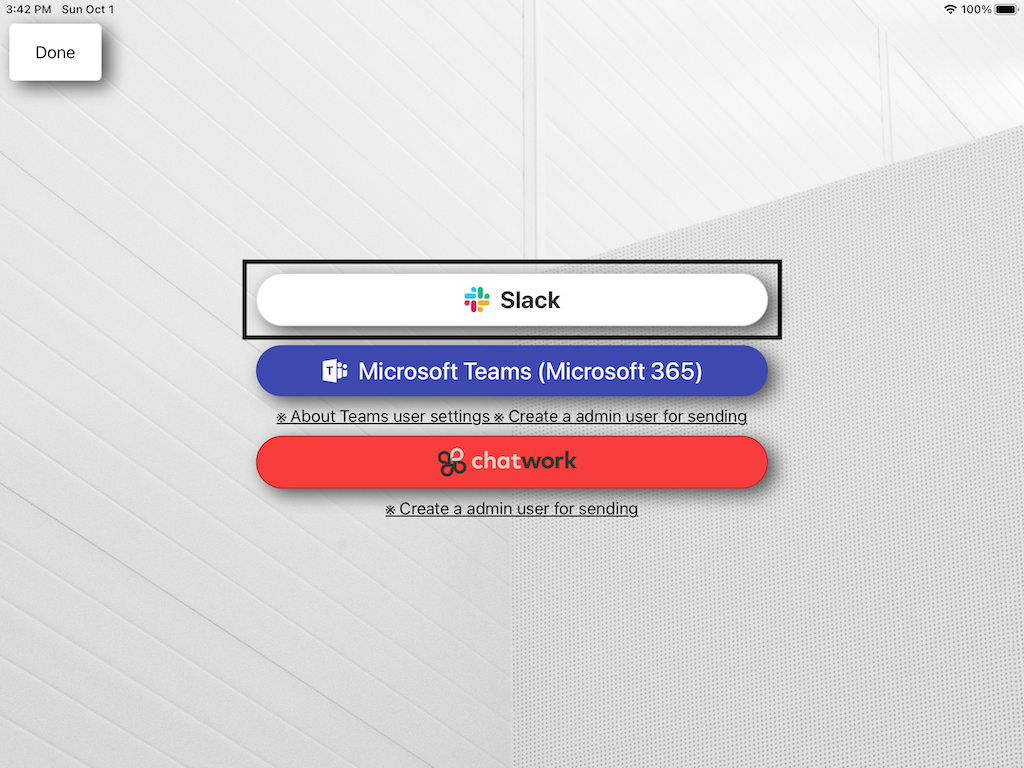
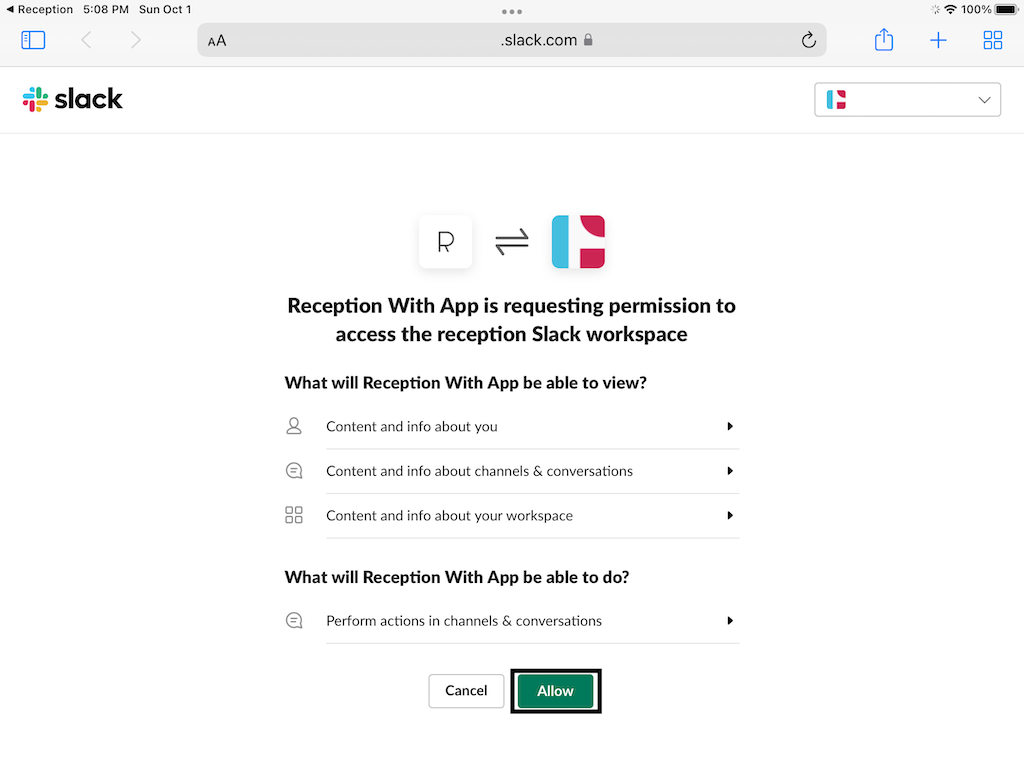
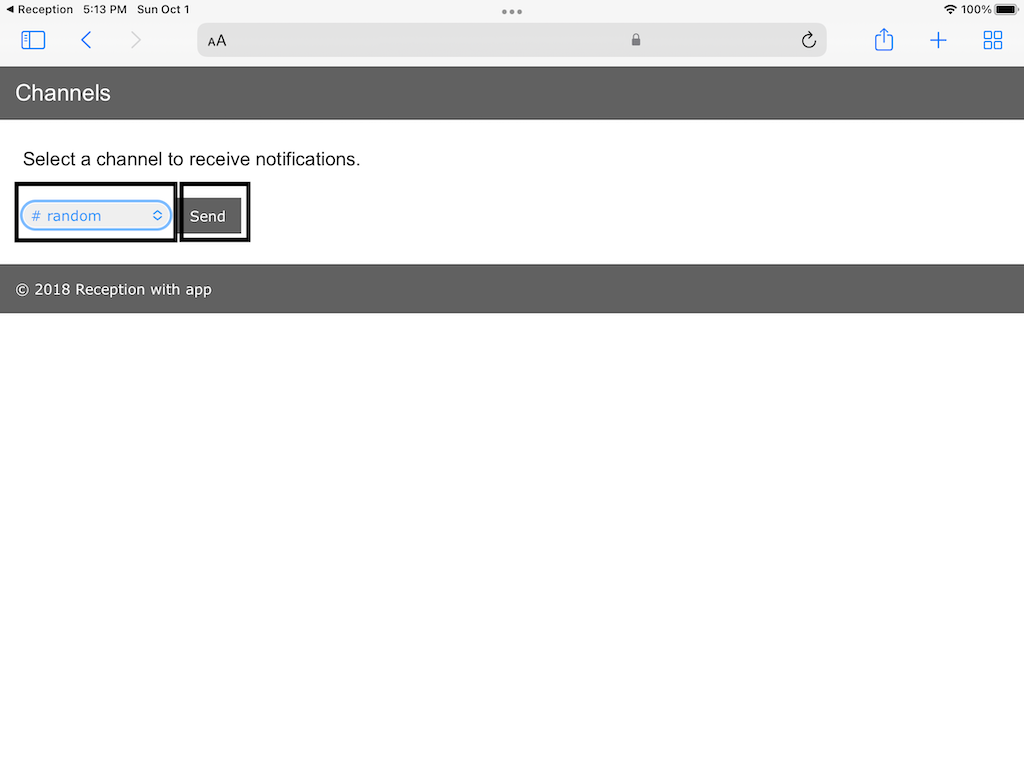
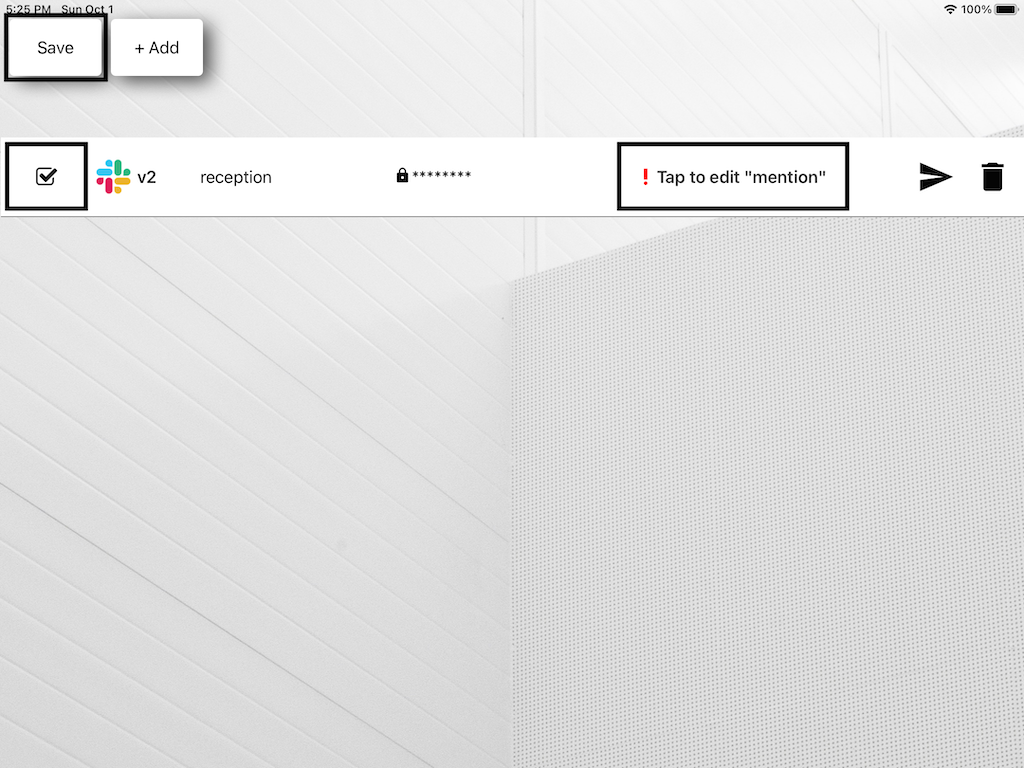
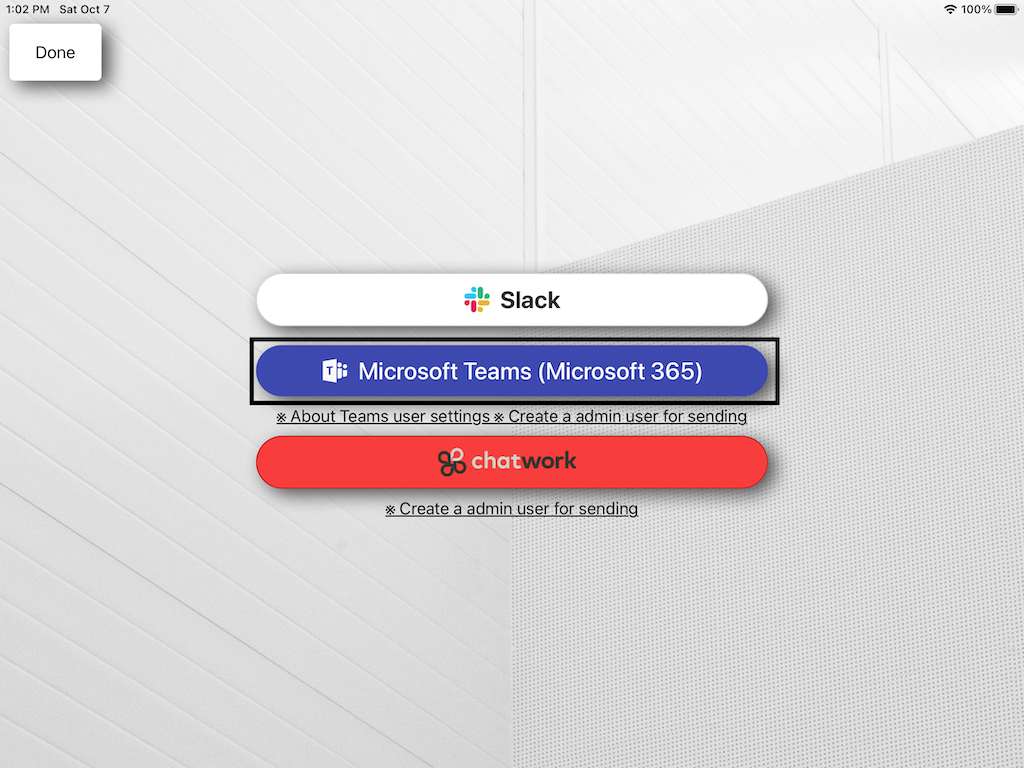
Start instantly on iPad or Android. Get real-time visitor notifications via Slack, Microsoft Teams, or Chatwork. Designed for clinics, salons, offices, schools, and more. $9.69/month after your 30-day free trial.
iOS App
Try Without Sign-Up
$9.69/month after 30 daysAndroid App
Try Without Sign-Up
$9.69/month after 30 days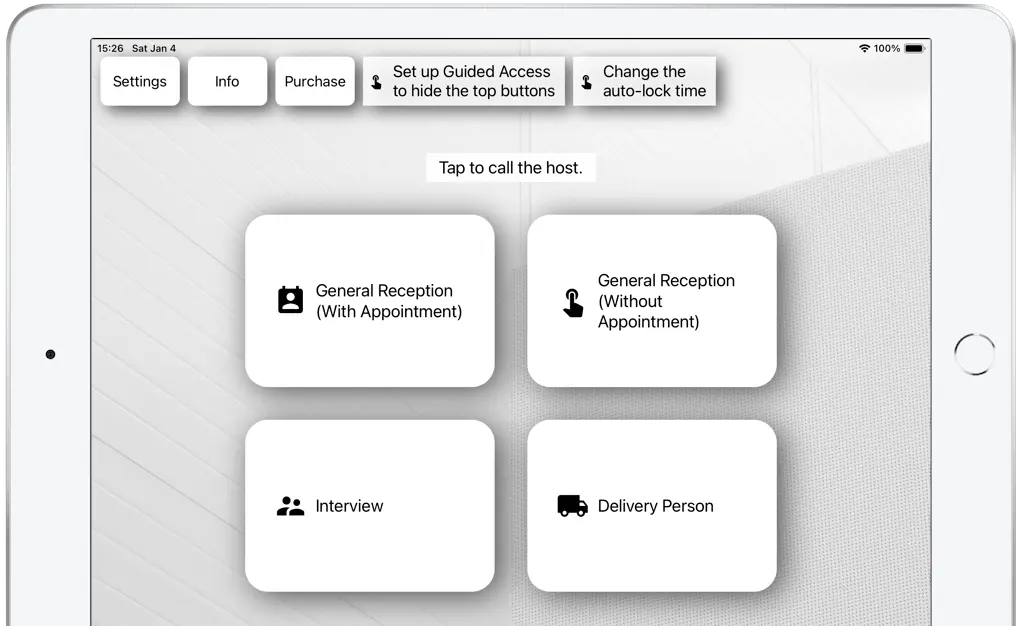

Service Comparison
Compare Reception With App's advantages against other visitor management services
Reception With App
RecommendedService A
Service B
Service C
| Feature |
Reception With App
Recommended |
Service A | Service B | Service C |
|---|---|---|---|---|
| Monthly Fee (USD) |
Only $9.69/month All features included |
Basic: $0(limited features) Standard: $131/mo Premium: $395/mo |
Free: $0(limited features) Medium: $67/mo Large: $267/mo |
Standard: $55/mo Premium: $109/mo Enterprise: $169/mo |
| Setup Cost | $0 | None | None | None |
| Free Trial | 30 days free | 14 days free | 15 days free | 14 days free |
| No Sales Call Required | ✓ (Web signup, no calls) | △ (Enterprise requires sales contact) | ✓ (Self-service trial signup) | ✓ (Self-service trial signup) |
| Ease of Deployment | Very simple | Very simple | Moderate | Very simple |
| Recommended Users | Non-IT users OK | IT-oriented | IT-oriented | Non-IT users OK |
| Primary Use Cases | Offices, retail, clinics | Mid-large corporate offices | Global enterprises | Offices, co-working, SMBs |
| Deployment Scale | 1 tablet → scale as needed | Per location (1+ kiosks) | Per location (100+ visits/mo) | Per location (1+ devices/QR) |
| Calendar Integration | × (Not supported) | ✓ (Google, Outlook, Office 365) | ✓ (Outlook, Google, Office 365) | ✓ (Google, Office 365) |
| Face Recognition/QR Code | × (Not supported) | ✓ (QR + face optional) | ✓ (QR + optional face capture) | ✓ (QR code check-in) |
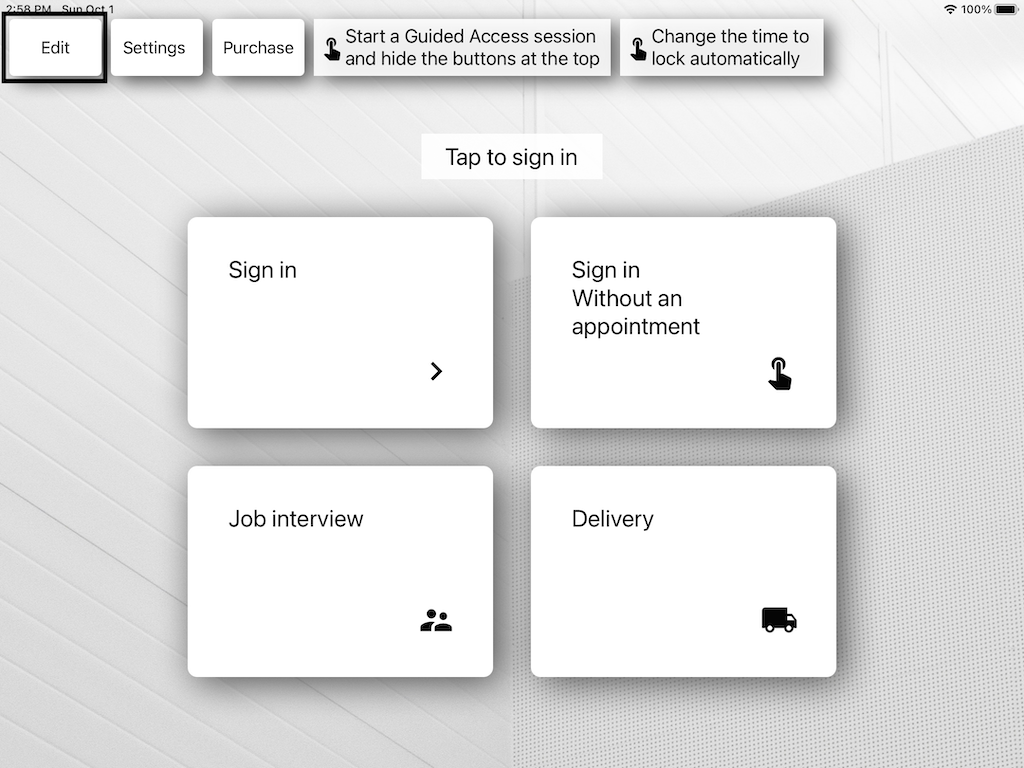
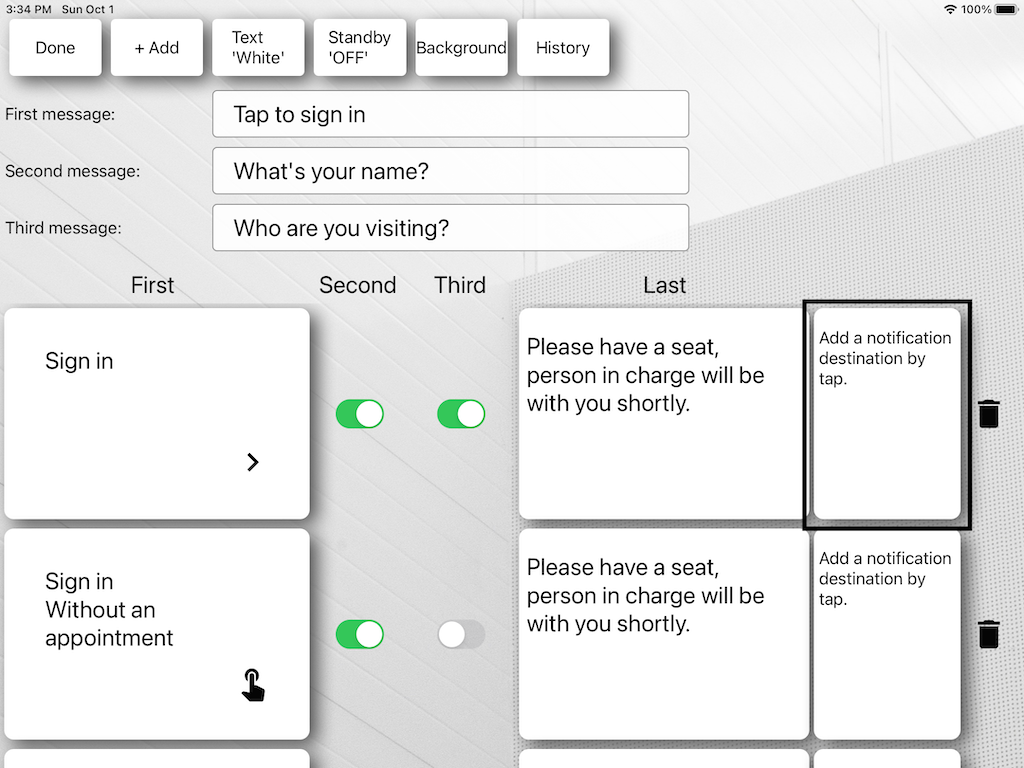
Reception With App Features
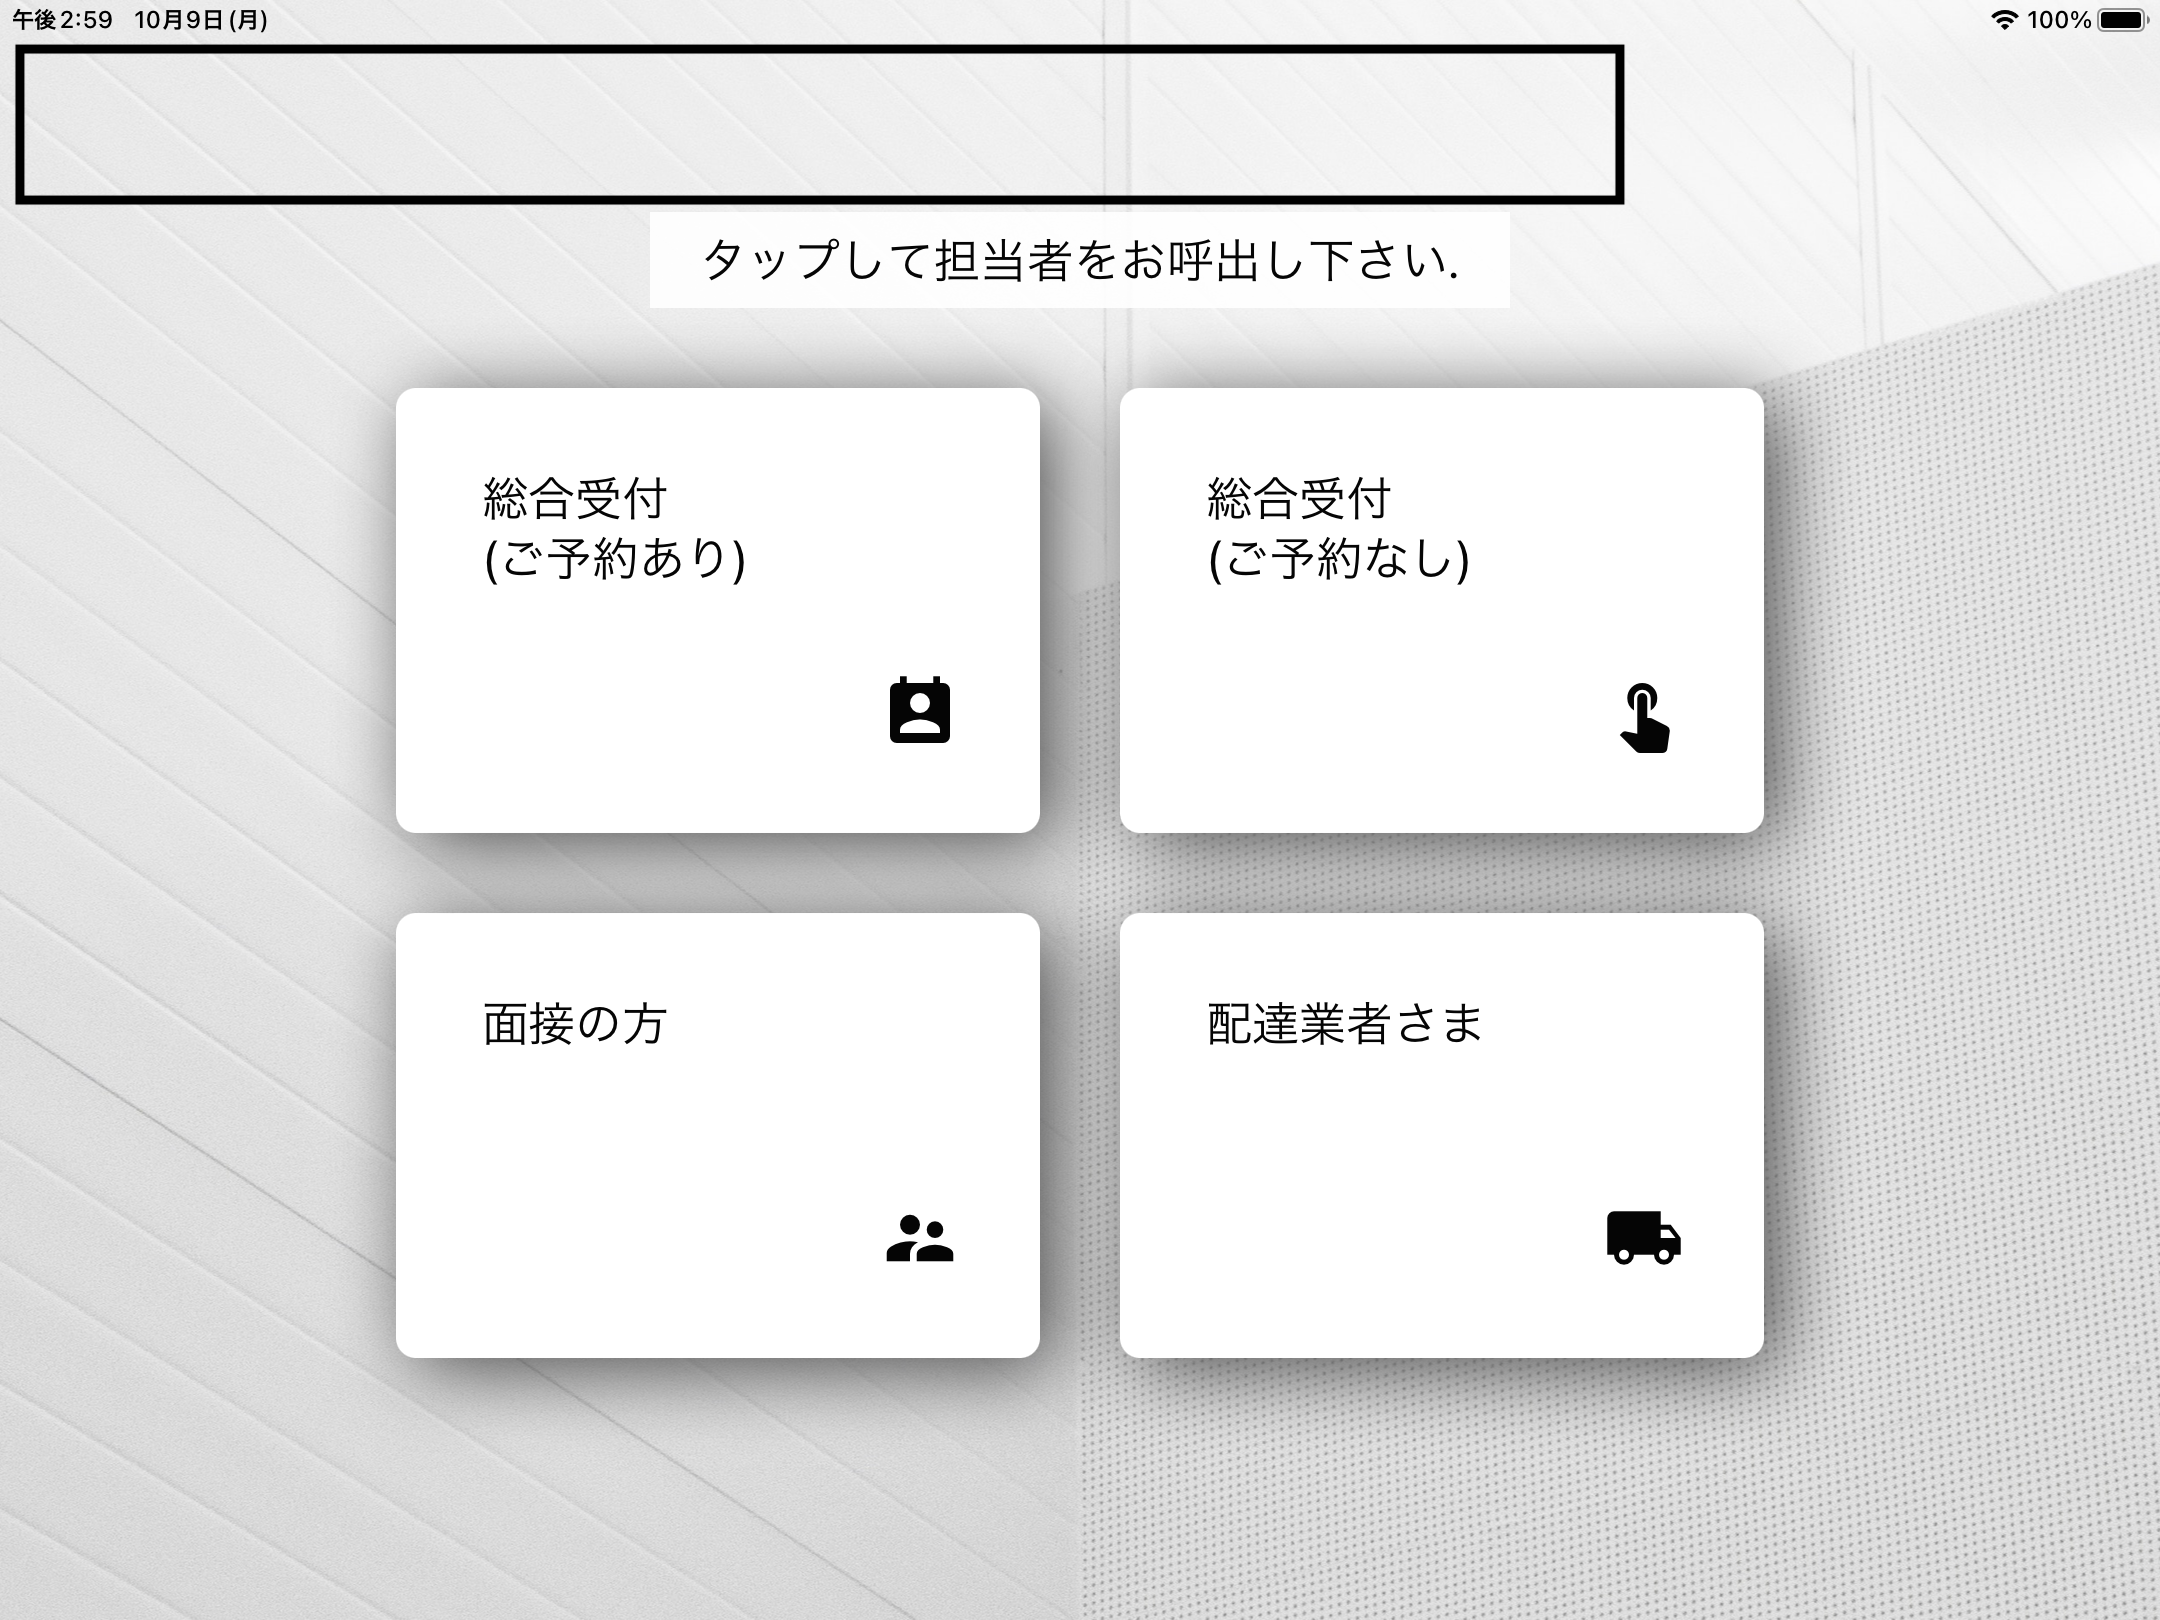
A visitor management system suitable for offices, retail stores, clinics, and various other locations. With low pricing and no sales calls required, you can start using it immediately from the web, making it extremely easy to try and deploy.
iOS App
Try Without Sign-Up
$9.69/month after 30 daysAndroid App
Try Without Sign-Up
$9.69/month after 30 days


 button or swipe up to the center of the screen and hold.
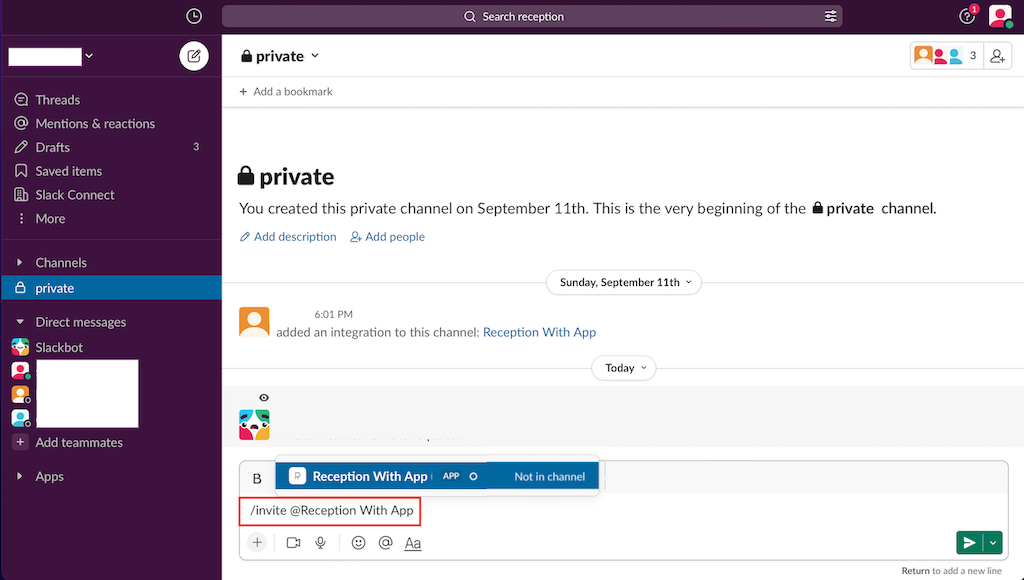
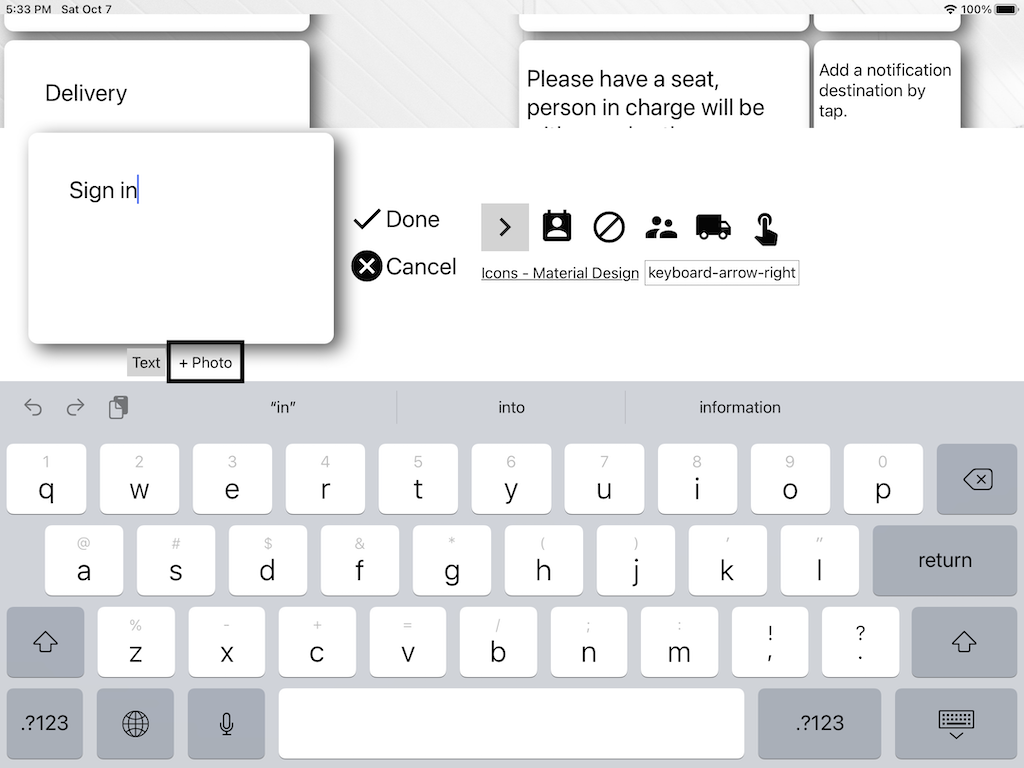
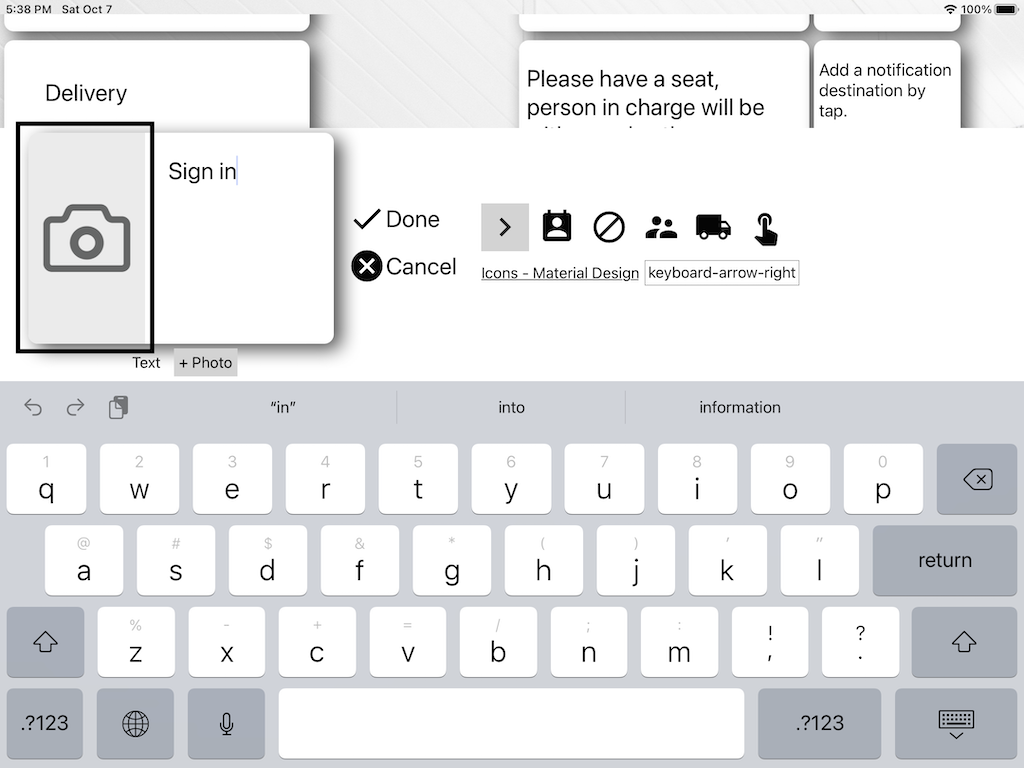
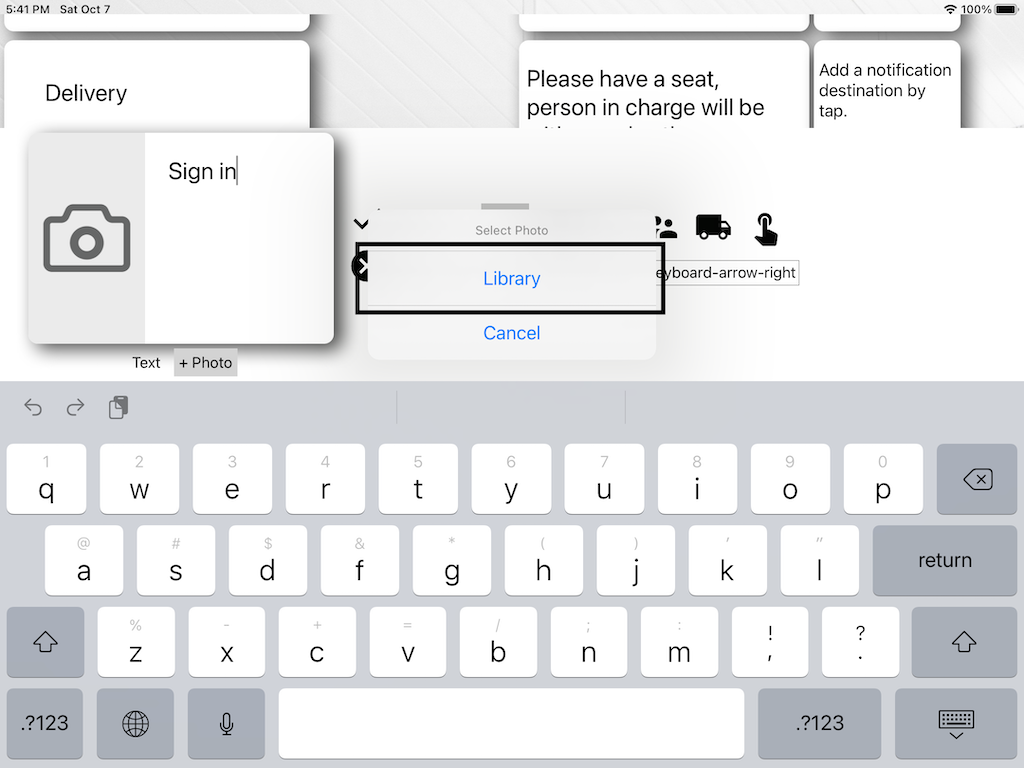
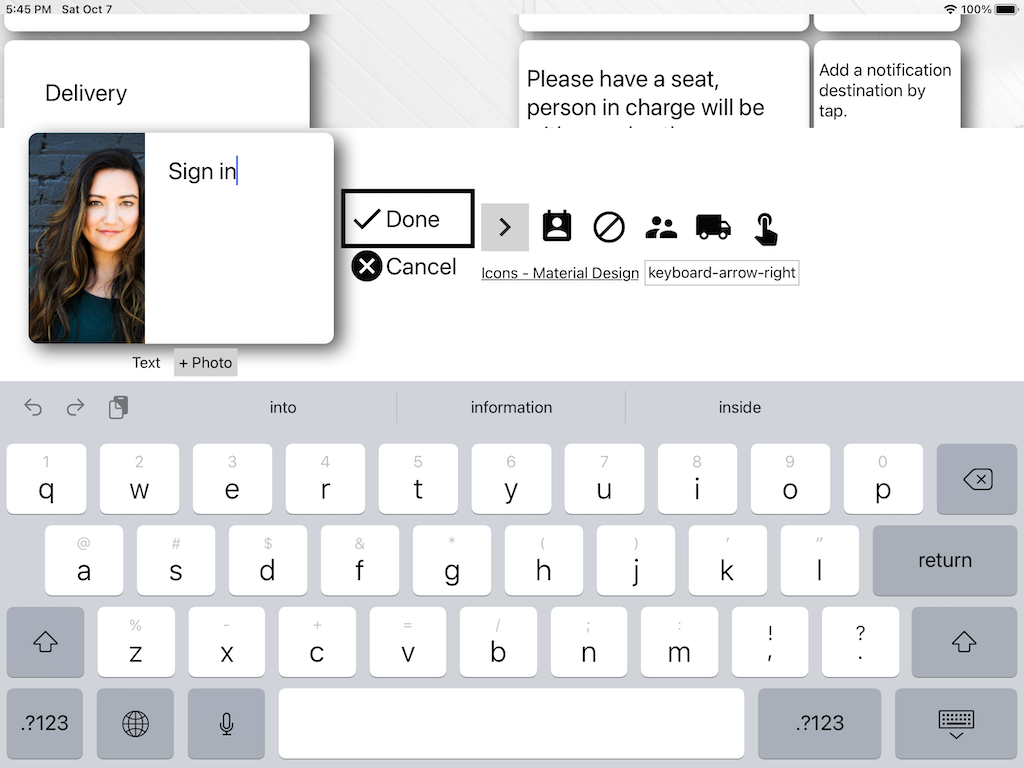
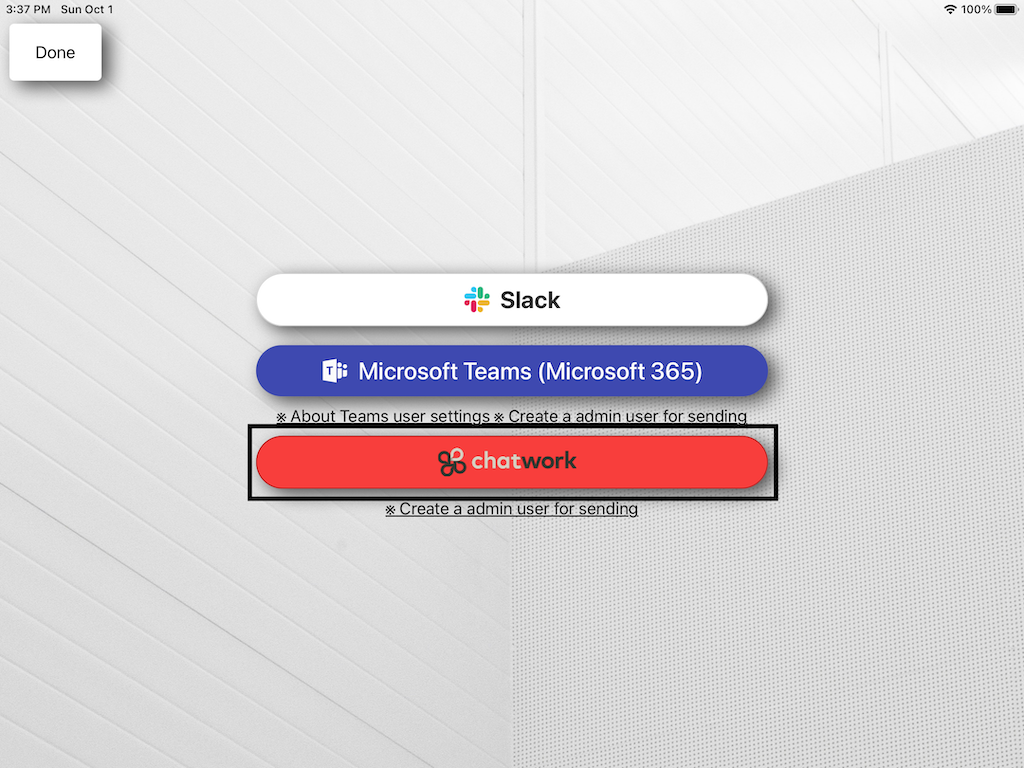
 icon in the Reception App.