iPad Kiosk Mode for Visitor Check-In: Lock Your Lobby iPad to One App (No MDM Needed)
You set up an iPad in the lobby so visitors can check themselves in. Without iPad kiosk mode, that plan tends to fall apart by lunchtime: someone swipes up from the Home bar, opens Safari to check the weather, and the next guest walks up to a Home Screen full of icons instead of your check-in buttons.
The fix is already built into every iPad. In this guide, you'll lock the device to a single check-in app, keep it running all day, and protect the visitor data on it. You won't need MDM software, a kiosk enclosure subscription, or an IT team. Plan on about 10 minutes.
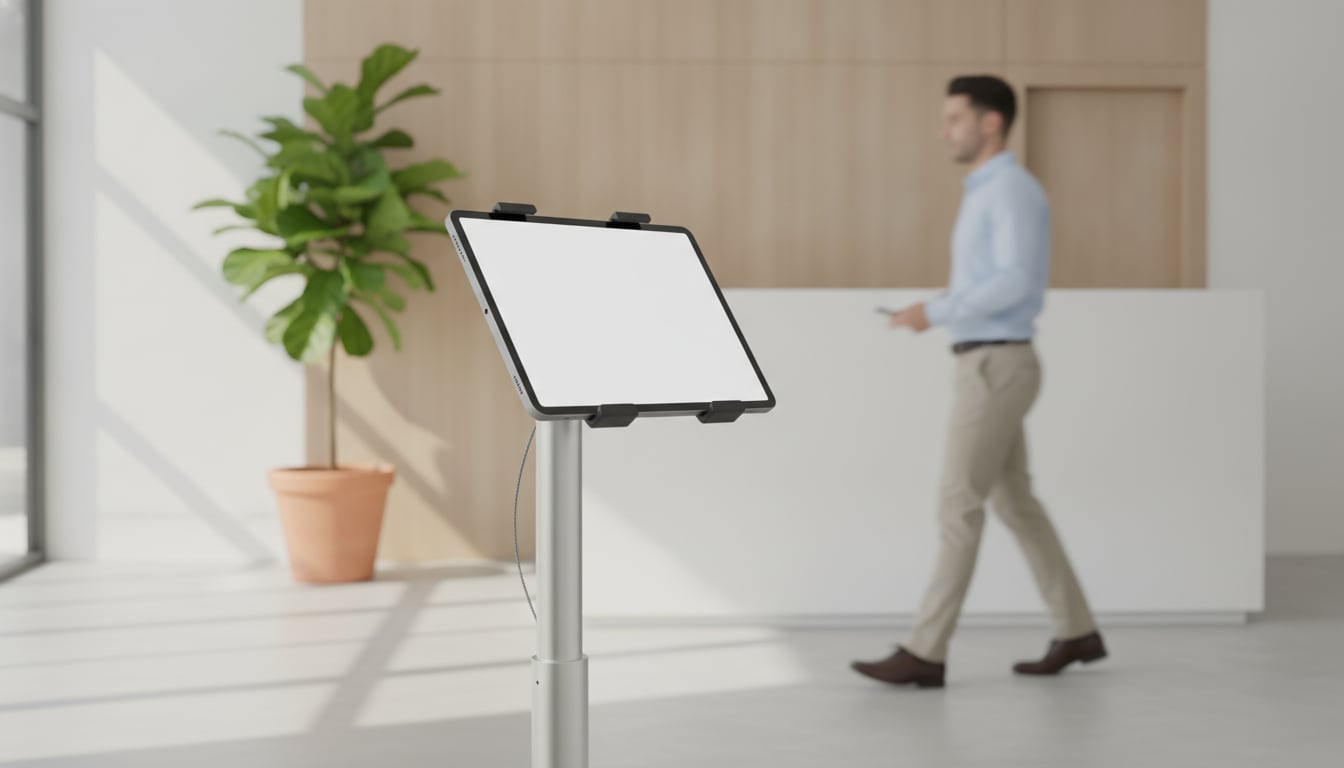
What "Kiosk Mode" Means for a Check-In iPad
"Kiosk mode" isn't a single switch in iPadOS. It's a shorthand for a device that does exactly one job. For a lobby check-in iPad, that means three things:
- One app only. The check-in app opens and stays open. Visitors can't switch to anything else.
- Locked full screen. Swiping up, pulling down Control Center, or pressing buttons won't take anyone out of the app.
- No back doors. The Home Screen, Settings, the camera roll, and your other apps are all out of reach.
When a device works like this, you can leave it unattended at the entrance and trust that the next visitor sees the same screen as the last one.
Do You Need MDM?
Search for "iPad kiosk" and you'll quickly run into mobile device management (MDM). Tools built on Apple Business Manager can push Single App Mode to a supervised iPad, so the device boots straight into one app and can't leave it. That's the right approach if you manage dozens of iPads across several sites and want to configure them all from one console.
For one or a few lobby iPads, it's usually overkill. MDM typically means a per-device subscription, supervising (and often wiping) the iPad, and a setup process that takes far longer than the problem it solves. Guided Access, a free accessibility feature built into iPadOS, gives you the same practical result for a front desk: one app, locked in place, with a passcode only your staff knows.
How to Lock an iPad to One App with Guided Access
Here's how to lock iPad to one app using Guided Access. You'll do the first step once; after that, starting and ending a session takes a few seconds.
Step 1 — Turn On Guided Access and Set a Passcode
- Open Settings and go to Accessibility > Guided Access.
- Turn on Guided Access.
- Tap Passcode Settings > Set Guided Access Passcode and enter a six-digit code.
- Optionally, turn on Face ID or Touch ID in the same menu so staff can end a session without typing the code.
Pick a Guided Access passcode that's different from the iPad's unlock code. If a visitor happens to see someone unlock the device, they still won't be able to exit the check-in app.
Step 2 — Open Reception With App and Start a Session
- Open Reception With App and confirm the check-in screen looks the way you want visitors to see it.
- Triple-click the top button (or the side button on some models). On an older iPad with a Home button, triple-click the Home button.
- If a menu of accessibility shortcuts appears, choose Guided Access.
- Tap Start in the top corner of the screen.
The iPad is now pinned to the app. While it's pinned, Reception With App hides its own edit button at the top of the screen, so visitors can only use the check-in buttons, not change your settings.
Step 3 — How Staff Can Exit Guided Access
- Triple-click the top button (or Home button).
- Enter the Guided Access passcode.
- Tap End.
If you turned on Face ID or Touch ID in Step 1, you can instead double-click the button and authenticate. Exit whenever you need to edit buttons or change the notification settings, then start a new session before you walk away.
Kiosk Checklist: Keep Your Visitor Check-In iPad Running All Day
Locking the app is the main job, but a reliable visitor check-in kiosk also needs power, a secure mount, and a plan for the data on it. Run through these three items once and you're set.
Set Auto-Lock to Never and Keep It Plugged In
A kiosk that goes dark after two minutes looks broken. Go to Settings > Display & Brightness > Auto-Lock and choose Never. Guided Access also has its own Display Auto-Lock option under Accessibility > Guided Access, so check that one too.
With the screen always on, the iPad needs constant power. Run a cable to the stand, and lower the screen brightness a little to reduce heat and extend battery life over the long term.
Use a Locking Stand or Enclosure
Software keeps visitors inside the app; hardware keeps the iPad on the counter. A locking floor stand, a countertop enclosure, or even a cable lock tied to the desk will do. Choose one that covers the top button so nobody can casually triple-click it, while still leaving the charging port reachable.
Turn On Find My and Keep Visitor Data on the Device
Reception With App stores visitor logs only on the device itself and never sends them to the cloud. That keeps names and visit times off external servers, but it also means the iPad is the one place that data lives. Turn on Find My iPad (Settings > your name > Find My) so that if the device is ever lost or stolen, you can locate it or erase it remotely.
Check-in alerts themselves go to the chat tool your team already uses: Slack, Microsoft Teams (paid Microsoft 365 users only), or Chatwork. You connect them by signing in and granting permission, with no URLs to copy. For a step-by-step walkthrough, see our guide to sending check-in notifications to Slack.
Using an Android Tablet? Use Screen Pinning Instead
Reception With App also runs on Android tablets, and Android has its own built-in equivalent of Guided Access called app pinning (or screen pinning).
- Open Settings > Security (on some devices, Security & privacy) and turn on App pinning. Turn on the option to ask for a PIN before unpinning.
- Open Reception With App, then open the Overview screen (the recent-apps view).
- Tap the app icon at the top of the Reception With App card, then tap Pin.
Menu names vary by manufacturer, so if you can't find the setting, type "pin" into the search bar at the top of Settings. The same kiosk checklist applies: keep the screen on, keep it charging, and turn on Find My Device.
Wrap-Up
You don't need dedicated kiosk hardware or an MDM contract to run a self-service lobby. Guided Access locks the iPad to one app, a stand keeps it in place, and a check-in app handles the rest: visitors tap a button, and your team gets an alert in the chat tool they already have open. If you're planning a front desk with no one stationed at it, our guide to unmanned reception covers the bigger picture.
The quickest way to see whether it fits your lobby is to try it on the iPad you already own.
Start for Free Right Now
$9.69/month on the App Store (Google Play pricing varies by region)
No signup required, 30 days free

Ten minutes of setup today, and your lobby iPad stays on the check-in screen every day after.